Complete the Form to Save Up to $600!
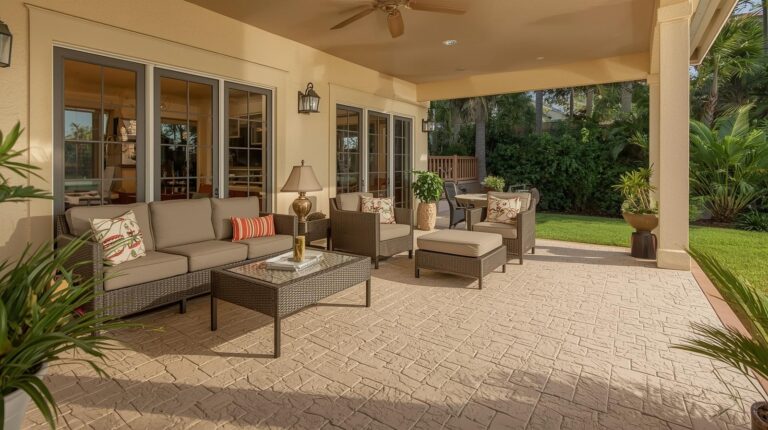
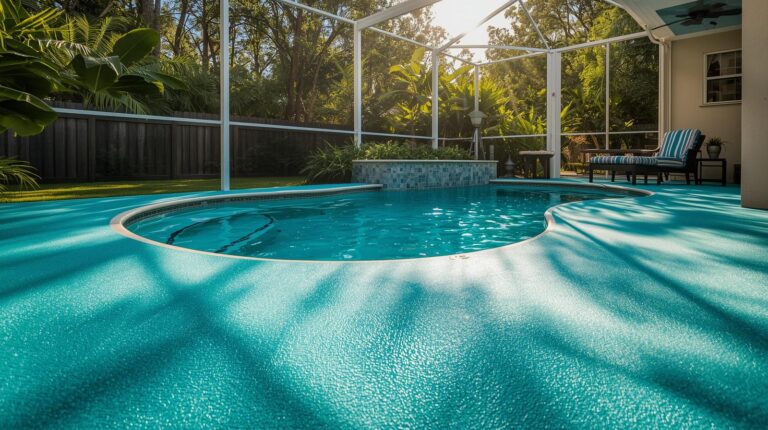
A pool deck is more than just a surface—it’s a critical component of your outdoor oasis, balancing safety, aesthetics, and durability. At Concrete Science Services LLC, we specialize in professional pool deck coatings that enhance your pool area while standing up to water, UV rays, and heavy foot traffic. Understanding the installation process can help you appreciate the craftsmanship involved and ensure a flawless result. In this blog, we’ll walk you through the detailed steps of installing a pool deck coating, from preparation to finishing.
Why Invest in a Professional Pool Deck Coating?
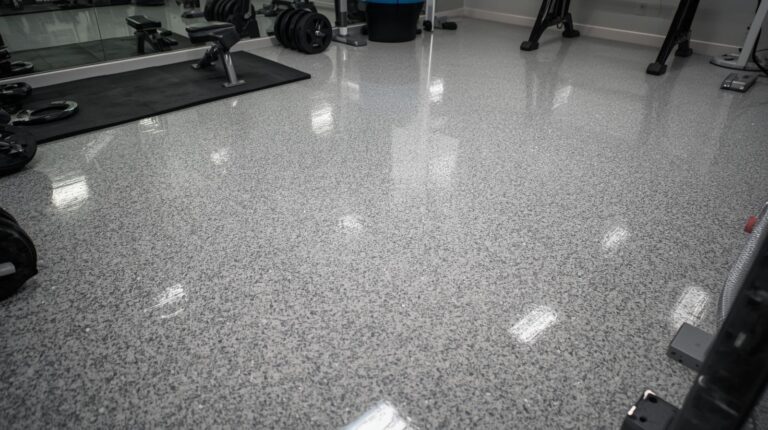
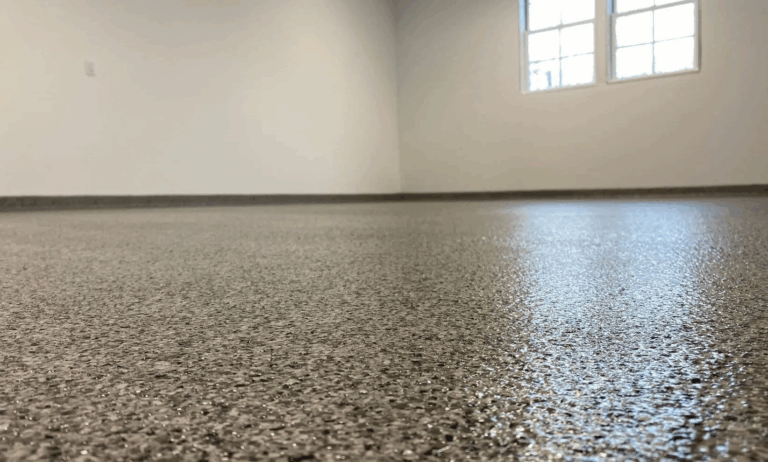
Pool deck coatings, typically made from epoxy, polyaspartic, or acrylic-based materials, provide a protective layer over your concrete surface. These coatings offer slip resistance, heat reflectivity, and resistance to chemicals like chlorine, making them ideal for pool environments. A professional installation ensures the coating adheres properly, lasts for years, and enhances the beauty of your pool area.
Benefits of Pool Deck Coatings:
- Safety: Textured finishes reduce slip hazards, even when wet.
- Durability: Protects against cracking, fading, and staining.
- Aesthetics: Customizable colors and patterns elevate your pool’s look.
- Low Maintenance: Easy to clean and resistant to pool chemicals.
Step-by-Step Installation Process
The installation of a pool deck coating is a meticulous process that requires expertise, precision, and high-quality materials. Here’s how Concrete Science Services LLC ensures a flawless result.
Step 1: Surface Assessment and Preparation
The foundation of a successful coating lies in proper surface preparation. A poorly prepared surface can lead to adhesion issues, peeling, or premature wear.
What We Do:
- Inspection: Our team evaluates the existing concrete for cracks, stains, or uneven areas. We assess moisture levels to ensure the surface is suitable for coating.
- Cleaning: The deck is thoroughly cleaned to remove dirt, oil, algae, or old coatings. This may involve pressure washing or chemical cleaning.
- Repair: Cracks, spalls, or other imperfections are filled with specialized concrete fillers. For significant damage, we may grind or patch the surface.
- Grinding or Shot Blasting: To ensure proper adhesion, we mechanically grind or shot blast the surface to create a slightly rough texture, opening the concrete’s pores.
Why It Matters:
A clean, properly profiled surface allows the coating to bond tightly with the concrete, preventing delamination and ensuring longevity.
Step 2: Priming the Surface
Once the surface is prepared, a primer is applied to enhance adhesion and create a uniform base for the coating.
What We Do:
- Primer Selection: We choose a primer compatible with the coating system (e.g., epoxy or polyaspartic) and the environmental conditions.
- Application: The primer is rolled or squeegeed onto the surface in a thin, even layer.
- Curing: The primer is allowed to cure, typically for 4–12 hours, depending on the product and weather conditions.
Why It Matters:
Priming seals the concrete, reduces outgassing (air bubbles), and ensures the base coat adheres properly.
Step 3: Applying the Base Coat
The base coat is the primary layer of the coating system, providing color, durability, and protection.
What We Do:
- Material Mixing: We carefully mix the coating material, ensuring the correct ratio of resin and hardener for optimal performance.
- Application: The base coat is applied using rollers, squeegees, or sprayers, depending on the desired finish. We work in small sections to maintain a wet edge and avoid seams.
- Customization: If decorative elements like color chips or quartz aggregates are desired, they are broadcast onto the wet base coat.
Why It Matters:
The base coat sets the tone for the coating’s appearance and durability. Proper application ensures even coverage and a strong foundation for subsequent layers.
Step 4: Adding Decorative Elements (Optional)
For clients seeking a custom look, this is the stage where decorative elements are incorporated.
What We Do:
- Color Chips: Vinyl flakes are scattered onto the wet base coat for a speckled effect.
- Stenciling: Patterns or logos are applied using stencils and contrasting colors.
- Texturing: For added slip resistance, we may incorporate silica sand or other aggregates.
Why It Matters:
Decorative elements enhance the pool deck’s aesthetic while maintaining functionality, such as slip resistance.
Step 5: Applying the Topcoat
The topcoat is the final layer, providing a protective seal that enhances durability and appearance.
What We Do:
- Topcoat Selection: We choose a UV-resistant, chemical-resistant topcoat, such as polyaspartic or urethane, to withstand pool chemicals and sunlight.
- Application: The topcoat is applied evenly, ensuring a smooth or textured finish, depending on your preference.
- Curing: The topcoat cures for 24–48 hours, though light foot traffic may be possible sooner with fast-curing polyaspartic coatings.
Why It Matters:
The topcoat protects the underlying layers, enhances slip resistance, and provides a polished, long-lasting finish.
Step 6: Final Inspection and Cleanup
Before handing over the completed pool deck, we conduct a thorough inspection.
What We Do:
- Quality Check: We inspect the coating for uniformity, adhesion, and any imperfections.
- Cleanup: The work area is cleaned, and any debris or equipment is removed.
- Client Walkthrough: We walk you through the finished deck, explaining maintenance tips and answering questions.
Why It Matters:
A final inspection ensures the coating meets our high standards and your expectations.
Factors That Affect Installation
Several factors can influence the installation process:
- Weather: Temperature and humidity affect curing times. We schedule installations during optimal conditions.
- Surface Condition: Severely damaged concrete may require additional repairs, extending the timeline.
- Coating Type: Polyaspartic coatings cure faster than epoxy, allowing for quicker return to service.
- Customization: Decorative elements or complex designs may add time to the process.
Why Choose Concrete Science Services LLC?
At Concrete Science Services LLC, we combine technical expertise with a passion for creating beautiful, durable pool decks. Our team uses industry-leading materials and follows best practices to deliver a coating that enhances your pool area for years to come.
Why Work With Us?
- Professionalism: Trained technicians with years of experience.
- Quality Materials: Premium coatings designed for pool environments.
- Customer Focus: We prioritize your vision and satisfaction.
- Warranty: Our installations come with a warranty for peace of mind.
Ready to upgrade your pool deck with a professional coating? Contact Concrete Science Services LLC today to schedule a consultation. Our experts will guide you through the process, ensuring a stunning, durable result that enhances your outdoor space. Reach out now to get started!